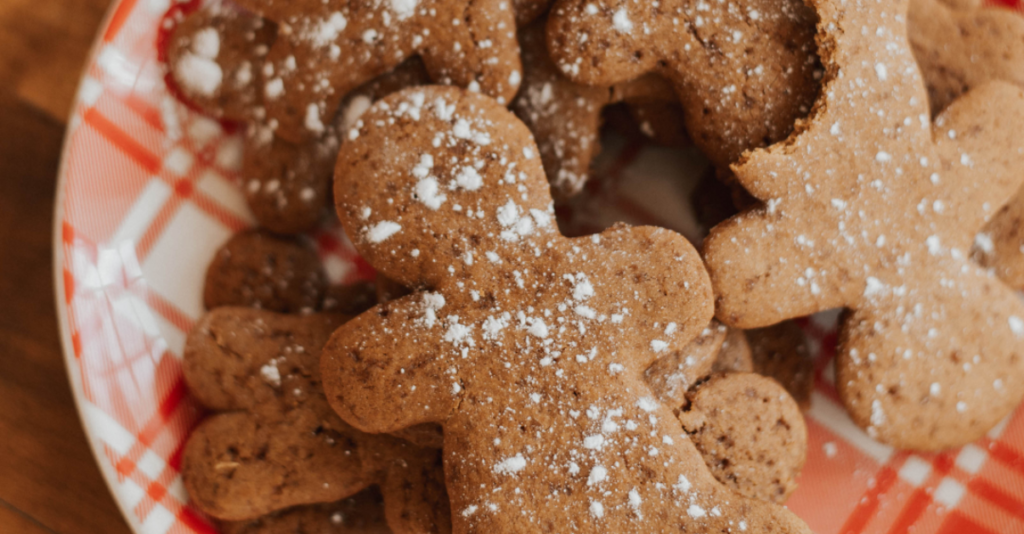
The Best Soft & Chewy Gluten-Free Gingerbread Cookies
The Best Soft & Chewy Gluten-Free Gingerbread Cookies
Whether you’re looking for a new addition to your holiday cookie exchange or a liver-friendly treat to place on the table this upcoming holiday season, we’ve got you covered with our latest recipe! Holistic Nutritionist and CLF staffer Laura is on the blog today to share one of her holiday favourites: The Best Soft & Chewy Gluten-Free Gingerbread Cookies. Take it away Laura!
When the snow starts to fall and the holiday season starts peaking around the corner, my first instinct is always to start baking. The only hitch is, when I start holiday baking, it’s difficult for me to stop. Anyone else been there? There are so many baking traditions around the holidays that I can’t stop myself from letting the kitchen explode with smells of peppermint and gingerbread spices. My trips to the grocery store include more flour and vanilla than they did all year and candy canes are something I’m comparing mid-aisle. But my favourite part about holiday baking is baking for (and with!) other people.
This gluten-free gingerbread recipe has always been at the top of my holiday list, especially since anyone, at any age, can take part in the fun of rolling and cutting out the gingerbread people (or your favourite shape). Beyond the memories and experiences shared with family and friends, this gingerbread cookie recipe is soft, chewy, and is sure to bring some holiday brightness to your home; aromas included.
This recipe is liver-friendly, free from refined sugar, and is easily customizable to meet your needs. Make it vegan by using vegan butter and whipping together a flax (remember to let the flax egg sit for five minutes before using to allow it to thicken).
Before we jump to the recipe, a few more quick notes. Once all ingredients are combined, you’ll notice that the dough will be incredibly sticky, but not to worry! Once you have it chilled and between two pieces of parchment paper, it will roll out without much effort. Keep a close watch on your timer with these, eight minutes is a sweet spot in the oven, but depending on the thickness of your cookies and the heat of your oven, it’s easy to overbake them.
Ingredients
1 ½ cups all-purpose gluten-free flour blend*
½ teaspoon baking soda
1 ½ teaspoons ground cinnamon
1 teaspoon ground ginger
¼ teaspoon kosher salt
½ cup packed coconut sugar
6 tablespoons unsalted butter at room temperature
4 tablespoons unsulphured molasses
1 tablespoon honey
1 egg at room temperature, beaten
½ teaspoon pure vanilla extract
(optional) pinch of Swerve or regular icing sugar for a dusting as decoration
*Look for a brand of flour that has xanthan gum listed as an ingredient – it’s required as a binder. If you can’t find a brand of flour with one, add ¾ teaspoon of xanthan gum to the dry ingredients.
Instructions
1. Preheat your oven to 350°F. Line baking sheets with unbleached parchment paper and set them aside.
2. Place the gluten-free flour, baking soda, cinnamon, ginger, and salt in a large mixing bowl and whisk to combine well. Add the coconut sugar and whisk again to combine, working out any lumps.
3. Create a well in the center of the dry ingredients and add the butter, molasses, honey, egg, and vanilla, using an electric mixer to combine after each addition. The dough will be thick and sticky.
4. After dusting a large sheet of unbleached parchment paper with some flour, transfer the dough and cover with another sheet of parchment. Roll the dough into a rectangle about 3/8-inch thick (more than 1/4-inch, less than 1/2-inch). If you are concerned that the dough will be difficult to handle, place it in the refrigerator or freezer after you roll it out to allow it to firm up.
5. Pull back the top sheet of parchment paper, dip a gingerbread person shaped cutter in the flour and use it to cut through the dough. With each cut, jiggle the cutter back and forth to create a smooth-edged shape. IMPORTANT: Don’t peel back the dough from around the shape cut-out until after completing Step 6 (placing it in the freezer).
6. Place the dough on a flat surface (e.g., a non-stick cutting board or a baking sheet) and put it in the freezer until firm (around 10 minutes).
7. Once the dough has chilled (after 10 minutes), peel back the excess dough from around the cut-outs and gather the scraps. Then carefully peel off the cut-out shapes from the parchment paper and place them – about 1 1/2-inches apart – on the prepared baking sheets.
8. Repeat the process (Steps 4 to 7) with the remaining dough until you have used it all.
9. Place the baking sheets (with the uncooked cookies) in the refrigerator or freezer until firm (about 20 minutes in the refrigerator, or 5 minutes in the freezer). This will help them hold their shape during baking.
10. Place the pan in the centre of the preheated oven and bake until just set, about 8 minutes. Don’t overbake. Remove the baking sheets from the oven. Don’t transfer the baked cookies from the baking sheets to a cooling rack until they become cool to the touch.
11. Decorate the completely cooled cookies with a light dusting of Swerve or regular icing sugar if desired.
Recipe Notes
If it’s easier to prep the dough and keep it in the fridge for a few days before rolling out and baking your cookies, the dough will stay fresh in the fridge for four to five days.
If you find the dough too hard to work with as you’re working through each cycle of dough, don’t hesitate to chill it in the fridge as often as you’d like.
Roll out your dough to the right thickness; otherwise, your cookies may take longer to bake or be overdone. Set a timer and watch every few minutes if you’re unsure what 3/8” of an inch looks like (or use a measuring tape)
Wait until your cookies are completely cool before handling to ensure they don’t crumble.
If you’re a liver patient, your diet is adjusted to meet your individual needs. Talk to your doctor about what’s best for you. In general, eating a balanced diet and avoiding foods high in fat, sugar, and salt can support a healthy or healthier liver.
Recipe adapted from glutenfreeonashoestring.com


